When working with C. elegans it is vital that you can deftly handle them. Worm picking, however, is a skill where practice makes perfect. At InVivo Biosystems, we have been working with C. elegans for many years, and our scientists will share some of their tips and tricks for worm picking in this article. Read on!
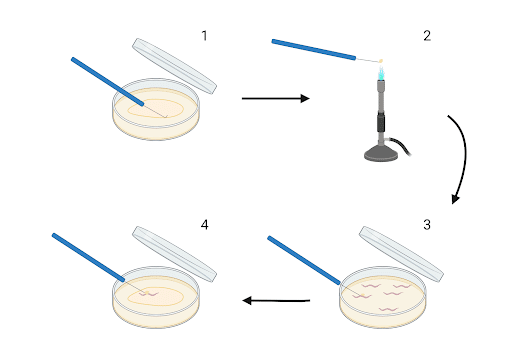
Image created with BioRender.com
Materials needed
- Plate containing adult C. elegans
- New plate seeded with bacteria and dried
- Platinum wire worm pick (see notes)
- Bunsen burner or alcohol lamp
- Dissecting brightfield stereomicroscope
Note: If you want to make your own, a homemade worm pick can be fashioned by inserting a 1-inch piece of 32-gauge platinum wire into a handle (e.g. a Pasteur pipette or an inoculating loop holder). Flatten the tip of the wire slightly with a hammer, and smooth out sharp edges with a file or emery cloth. If you would prefer to buy premade flattened tips and tip holders – you can purchase ones specifically made for transfering C. elegans here. Every researcher prefers a slightly unique tip shape, so play around with different tip angles until you find a sweet spot.
As previously mentioned, practice is key in developing worm picking skills – if you are having trouble with shaky hands, sometimes gently bouncing one leg can help keep you steady. And also, try growing a subpopulation of worms to practice transferring. This can be particularly useful before needing to transfer worms for an important assay.
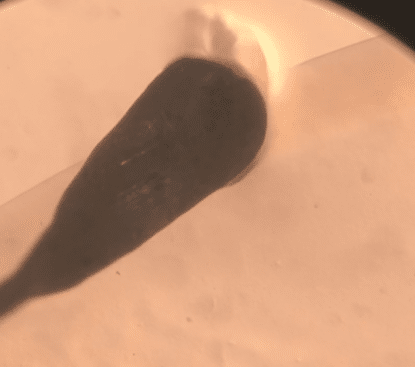
Step 1: Pass the worm pick through the flame to sterilize, then allow to cool briefly. Gently scrape the pick along the edge of the bacteria on the new plate, to pick up a “blob” of bacteria on your pick.

Image created with BioRender.com
Step 2: Heat the bacteria blob by holding the pick just above the flame for a few seconds. This dries the bacteria, making it tacky and easier to pick up the worms.
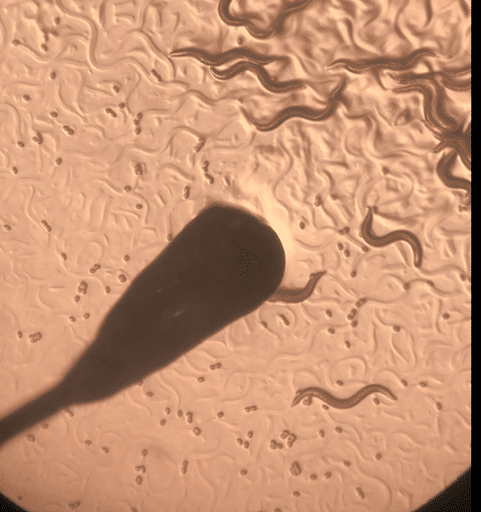
Step 3: Gently touch or swipe the blob of bacteria on your pick over a worm until it sticks, and lift the worm off the plate. Make sure your pick tip is completely flat and level with the surface of the agar, as not to gouge the surface and create holes for the worms to burrow.
Note: Wet plates/surfaces are especially hard to pick worms off of. If you notice excess condensation on the agar, let the plate dry in a laminar flow hood for ~5-10 minutes to make the bacteria and worms more sticky. Also, 5 worms (depending on pick width) is usually the maximum number one can transfer at once without injuring the worms. If you are picking up dead worms, >10 can be picked up.
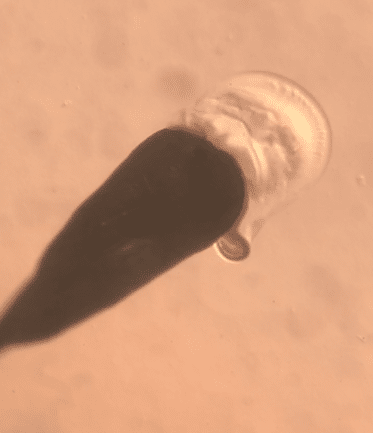
Step 4: After picking a worm, immediately transfer so that they do not desiccate on the tip of the pick. Gently touch the worm on your pick to the bacteria on the new plate, and allow the worm to crawl off your pick onto the plate.
Between each transfer, flame the end of the worm pick. This will sterilize the pick and destroy any worm bodies. The platinum wire will cool down quickly so you do not need to worry about burning the agar when you go to pick your next round of worms. Also, after every 75-100 worms you flame off the pick you will need to scrape the tip. This is because, as you use a worm pick and flame off worms, small pieces of carbon will build up on the tip. This soot can then rub off on the plate and act as small shards, injuring the worm cuticles.
Worm picking is widely used in C. elegans labs [figure 1]. While this article only outlines the basics of worm handling, the importance of these steps cannot be overstated; if worm picking is performed incorrectly the worms can be injured, and the whole assay/operation can be disrupted.
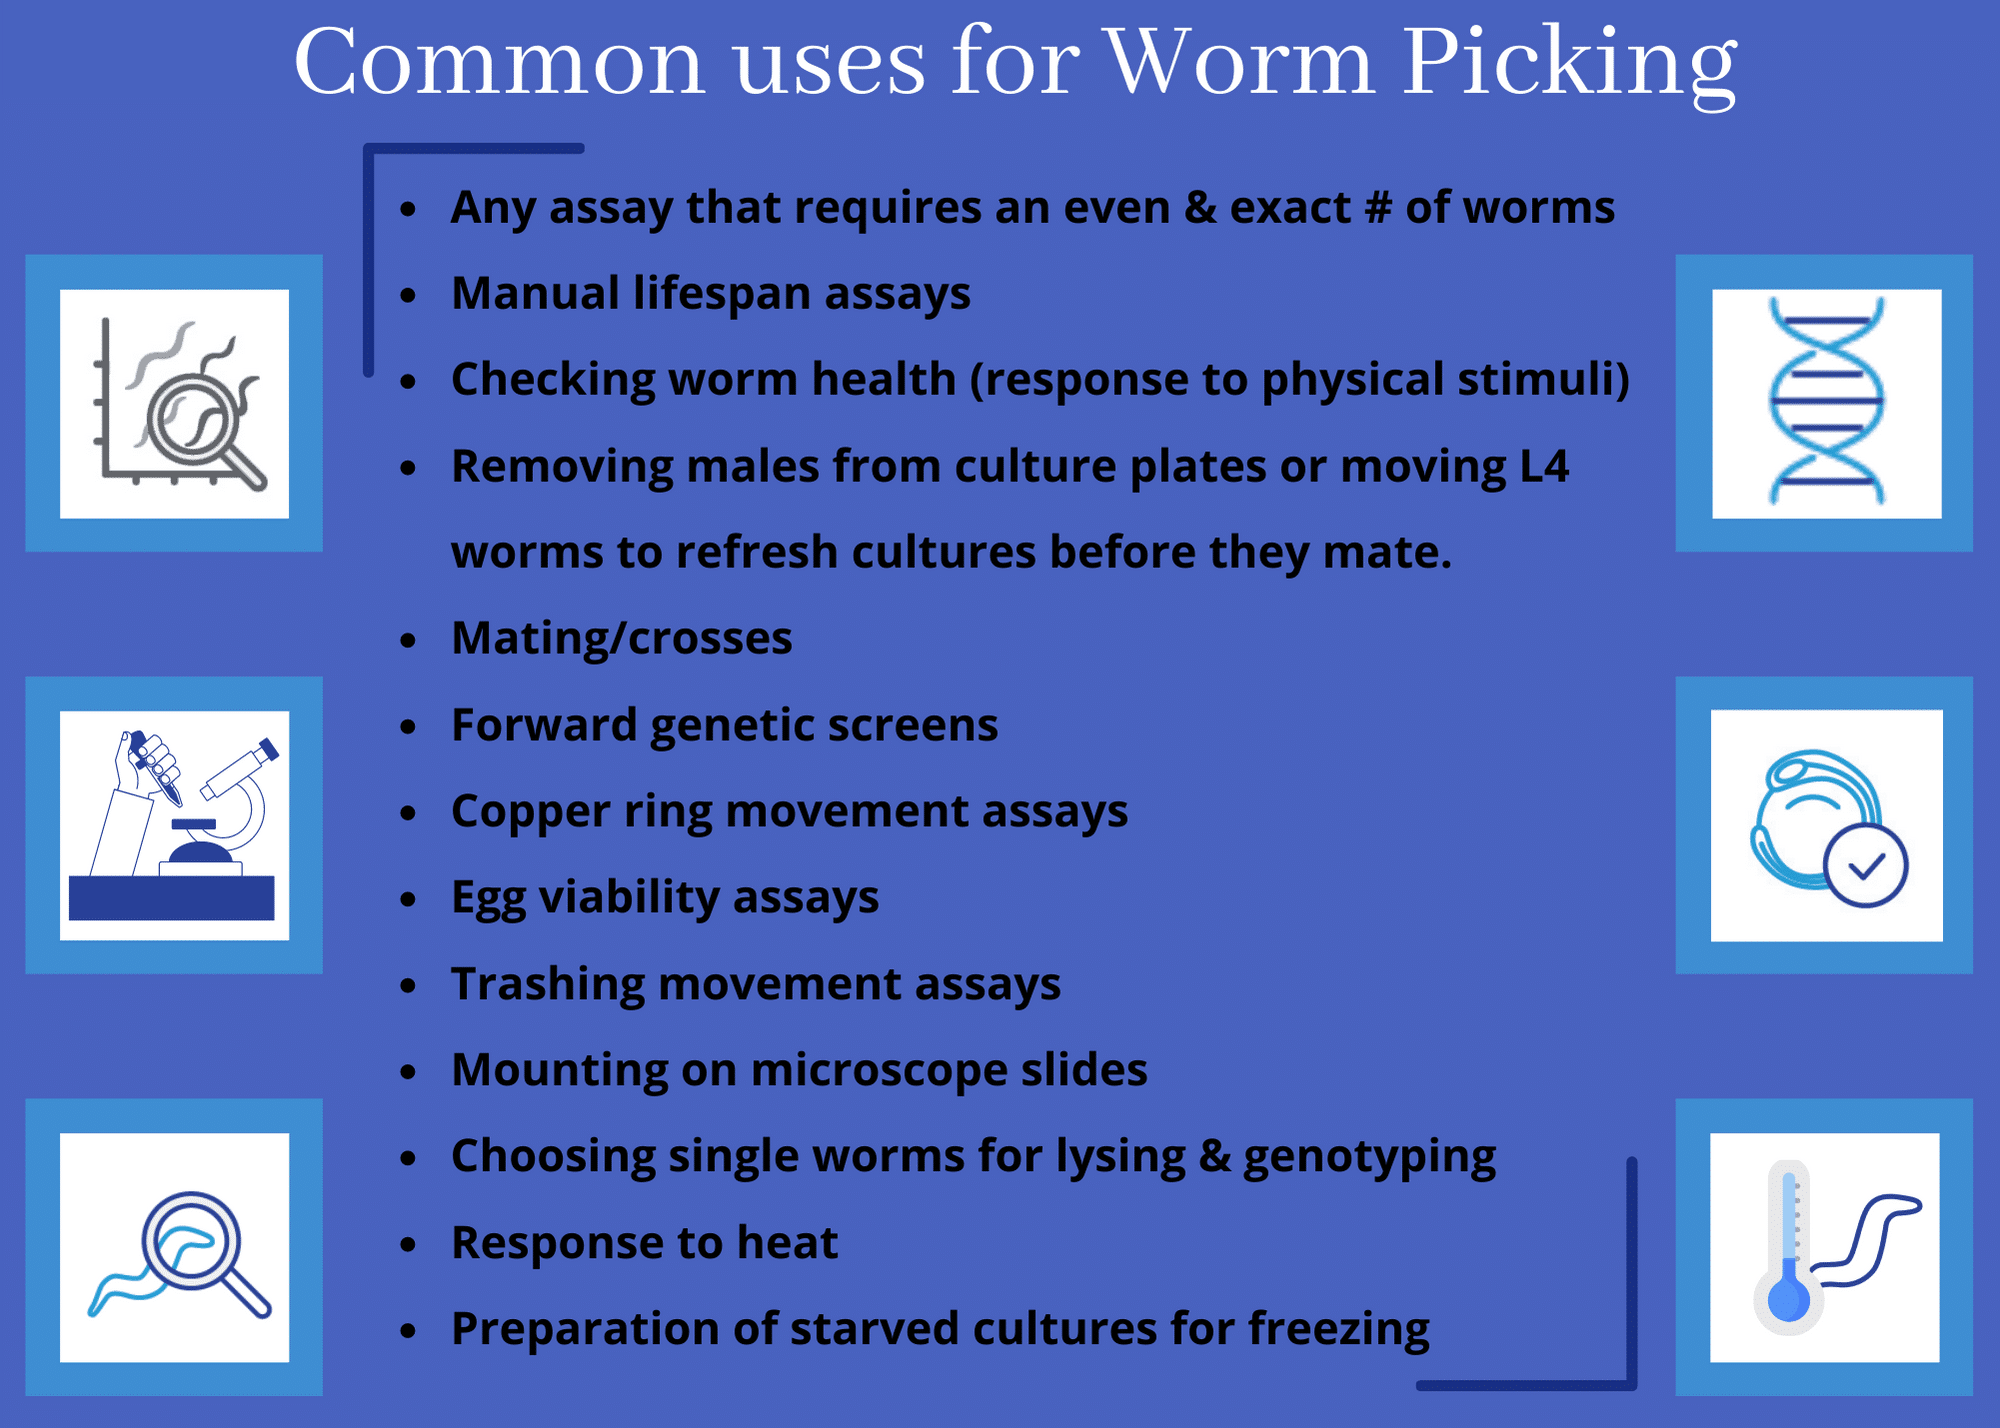
Figure 1. Common uses for Worm Picking
A Video Guide to Picking C. elegans
We at InVivo Biosystems know that worm picking can be tricky, and hope this article is able to help you feel more confident in your picking endeavors. If you’re interested in learning more about how to perform successful C. elegans experiments check out our blog. Or, inquire about having InVivo Biosystems work as your outsourced wet-lab.
Further Reading:

